Database
The docker based PostgreSQL image that is used in the docker-compose.yml is great for proof-of-concept of and development with the Open AMT Cloud Toolkit. However, when gearing up for production it is recommended to leverage a managed database instance offered by a public cloud provider or perhaps a database hosted by your internal IT. Regardless of your deployment scenario (ie. a VM, Kubernetes, Docker Swarm, a native environment), managing state in your own cluster comes with a higher risk of data loss than that of a managed database instance.
Reference Implementation

- Postgres
Example Replacements
- Azure Managed Postgres
- Azure MSSQL
- Amazon RDS
- MySQL
- MariaDB
Services That Require Updating
- MPS
- RPS
What you need to do
For this guide, we'll be focusing on RPS. We'll walk through the primary steps required to swap out the database with another provider. In this example, we'll be using mssql. At a high level, there are a few main tasks to accomplish:
- Review DB Schema
- Add DB Client Dependency
- Configuration
- Code Implementation
DB Schema Overview
RPS
MPS
Add DB Client
The first step is to add your database client library that you will use to connect to your database. Since this example is for mssql, we will use node-mssql.
npm install node-mssql --save
Update Configuration
Next, you'll need to update the connection string and a folder name for your db either in your ENV or .rc file:
"db_provider":"mssql", //this needs to  match the folder name you create in the next step
"connection_string":"Server=localhost,1433;Database=database;User Id=username;Password=password;Encrypt=true'",
Write Code
After you've got your configuration correct and db client added, next is to update the code to support the new database.
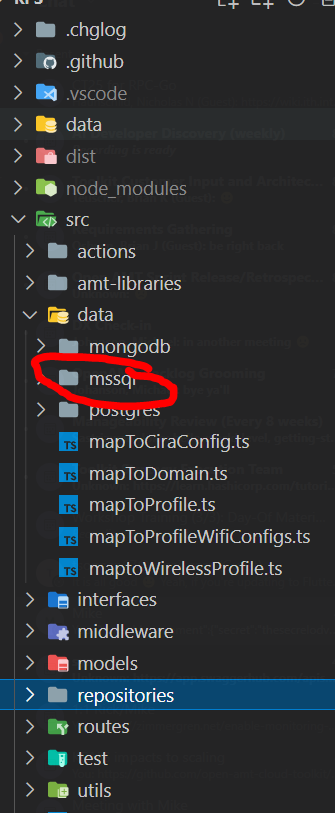
Add a new folder named exactly as what you provided for the db_provider property to the ./src/data folder. For our example we'll use mssql.
Next, we'll need to create an index.ts file that implements our IDB interface. Take a look at the interface below:
export interface IDB {
  ciraConfigs: ICiraConfigTable
  domains: IDomainsTable
  profiles: IProfilesTable
  wirelessProfiles: IWirelessProfilesTable
  profileWirelessConfigs: IProfilesWifiConfigsTable
  query: (text: string, params?: any) => Promise<any>
}
query method:
async query <T>(text: string, params?: any): Promise<mssql.IResult<T>> {
    let result
    const start = Date.now()
    return await new Promise((resolve, reject) => {
      this.sqlPool.connect(async (err) => {
        if (err) {
          this.log.error(err)
          reject(err)
        }
        result = await this.sqlPool.request().query(text)
        const duration = Date.now() - start
        this.log.verbose(`executed query: ${JSON.stringify({ text, duration, rows: result.recordset.length })}`)
        resolve(result)
      })
    })
  }
The above is just an example to demonstrate that this function should be responsible for taking in the query and parameters and performing the execution.
Next, You'll need to implement each one of the table interfaces. The base interface looks like this:
export interface ITable<T> {
  getCount: (tenantId?: string) => Promise<number>
  get: (limit: number, offset: number, tenantId?: string) => Promise<T[]>
  getByName: (name: string, tenantId?: string) => Promise<T>
  delete: (name: string, tenantId?: string) => Promise<boolean>
  insert: (item: T) => Promise<T>
  update: (item: T) => Promise<T>
}
./interfaces/database that adds specific functions on top of the the base ITable<> interface.
Here's an example of the get implementation for Domains:
  /**
   * @description Get all Domains from DB
   * @param {number} top
   * @param {number} skip
   * @returns {AMTDomain[]} returns an array of AMT Domain objects from DB
   */
  async get (top: number = DEFAULT_TOP, skip: number = DEFAULT_SKIP, tenantId: string = ''): Promise<AMTDomain[]> {
    const results = await this.db.query(`
    SELECT name as  profileName, domain_suffix as  domainSuffix, provisioning_cert as  provisioningCert, provisioning_cert_storage_format as  provisioningCertStorageFormat, provisioning_cert_key as  provisioningCertPassword, tenant_id tenantId
    FROM domains
    ORDER BY name`)
    return result
  }
Once you've completed all of the queries for each function for each table, you should be good to go! It's a good idea to run our API Tests w/ Postman provided in the ./src/test/collections folder to ensure all the APIs are working as expected when implementing a new database provider.