Express Manual Setup
The Open Active Management Technology (AMT) Cloud Toolkit repository includes:
- Management Presence Server (MPS)
- Remote Provisioning Server (RPS)
- UI Toolkit
- Remote Provisioning Client (RPC)
Find details about architectural details, security issues, and more in Microservices.
Network, Hardware, and Software Prerequisites
Before installing the toolkit, prepare the environment:
-
Configure a network that includes:
- A development system running Windows® 10 or Ubuntu* 18.04 or newer
- One or more Intel vPro® device(s) to manage
Tip
A flash drive or equivalent means of transfer is necessary to copy the RPC to the managed device.
Info
Both development systems and managed devices must use a wired (i.e., cable) connection on the same network.
-
Install the prerequisite software on the development system:
Prerequisite Software Purpose Chrome* Browser View the WebUI console for configuring profiles and connecting devices git Downloads the OpenAMT Cloud Toolkit repository Node.js* LTS 12.x.x or newer Installs and runs the software
Download and Configure Software
To download the Open AMT Cloud Toolkit repository on the development system:
-
Open a Terminal (Linux) or Powershell command prompt (Windows) and navigate to a directory of your choice for development.
-
Clone the repository and navigate to the open-amt-cloud-toolkit directory.
git clone --recursive --branch v1.1.0 https://github.com/open-amt-cloud-toolkit/open-amt-cloud-toolkit && cd open-amt-cloud-toolkit -
Run the following script to build and install the services.
make build./build.ps1 -
Provide the IP Address of your development system and press Enter.
Info
The script will update the
./mps/.mpsrcfile and the./sample-web-ui/src/app.config.jsfile with the IP address you enter. It will also runnpm installfor each service to install the necessary dependencies. For more information on all available configuration options for MPS click here and for RPS click here.Note
Warning messages are okay and expected for optional dependencies.
All dependencies for MPS, RPS, and the Web UI have now been installed and configured. To learn more about each component and their role click here.
Start the MPS, RPS, and Sample Web UI
Start the MPS, RPS, and Sample Web UI in three separate command line terminals.
To start the MPS:
-
Navigate to the
mpsdirectory. Start the MPS server. It may take approximately 2-3 minutes to start.cd mps && npm run devxcd mps && npm run devSuccess
The development system's IP Address will be used to connect to the web server. By default, the web server (api) runs on port 3000 and the MPS Server listens on port 4433.
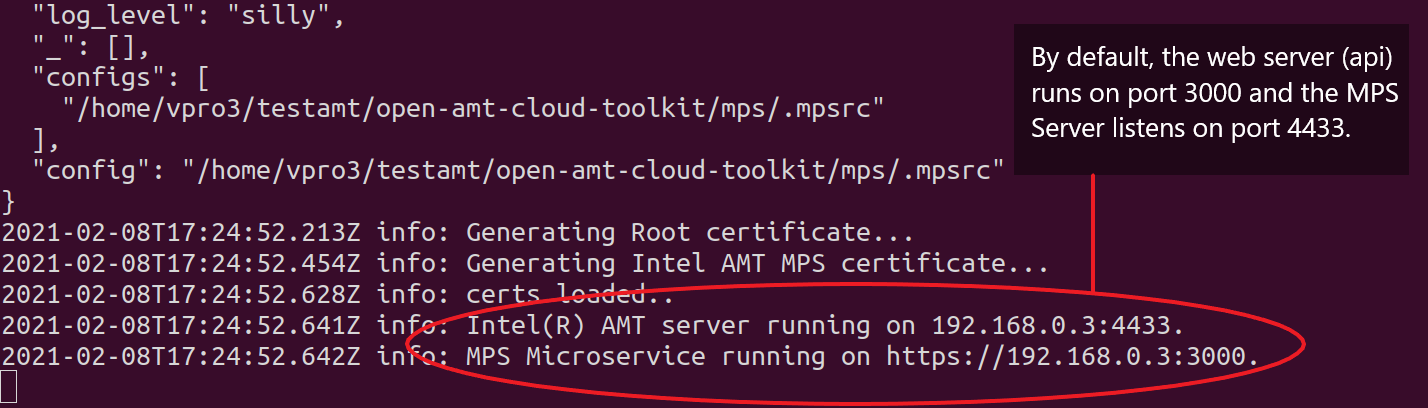
Figure 1: MPS reports successful deployment.
To start the RPS:
-
Open a new Terminal or Command Prompt and navigate to the
open-amt-cloud-toolkit/rpsdirectory. Start the RPS server.cd rps && npm run devxcd rps && npm run devSuccess
By default, the RPS web port is 8080 and the RPS Server listens on port 8081.

Figure 2: RPS reports successful deployment.
To start the Sample Web UI:
-
Open a new Terminal or Command Prompt. Navigate to the
open-amt-cloud-toolkit/sample-web-uidirectory, and start the server.cd sample-web-ui && npm start -
If prompted to use another port, enter 'y' and note the port that is chosen. Typically, the port defaults to 3001. This is where the UI will be running.
Success
Because MPS runs on port 3000, the Sample Web UI may prompt to use port 3001 instead.
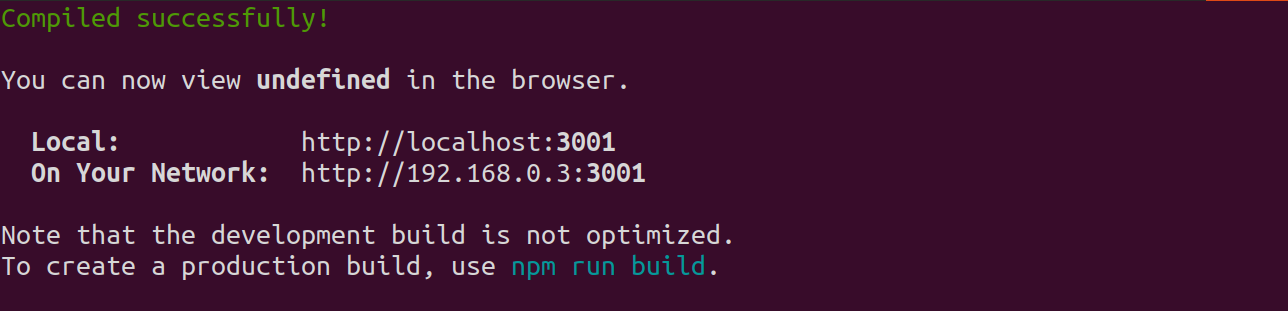
Figure 3: Sample UI reports successful deployment.